For the third year in a row, I’ve made a “One Second Every Day” video. The concept is simple (and easy to do with an app on my phone) — record video or take photos every day of the year. For each day, select a single second of video (or pick a still photo). Then, “mash” them all together into a continuous video. The 1SE app handles all of this part. I add the music separately using iMovie.
Here is my video for 2016:
Music
Other than remembering to record video every day, choosing the music is the hardest part about creating these. I always feel like I’m picking a soundtrack for the year.
This year was especially difficult. We lost Xena, our 18-year old Siamese cat, back in January. Then we lost Cricket, our rat terrier mix, in October. Finally, the presidential election was in November, with a result that I did not expect and am not at all happy about.
October and November is when I usually start playing around with the seconds I’ve saved so far and experimenting with songs that might work with the video. So my initial song candidates were quite a bit less positive and sadder than the two I did finally choose. I had to remind myself that the year was bigger than our losses.
Renee actually helped find the second song — “Sing On,” by Jewel. I felt it fit well because it is optimistic, while at the same time suggesting that some things might be a struggle.
Past Years
The first year I did this, I was sort of sneaky and did not tell Renee about it. I started about a week into 2014, so the early parts of that video showed some of her brain surgery recovery. That video also reflected huge life changes for us — a new job, moving, a new house, adjusting to commuting by bus, and so on.
Last year I did another video, but just posted it to YouTube and Facebook without doing a blog post. That year seemed uneventful compared to 2014.
Here are those past videos:
2015:
2014
2017
I am hoping that my 2017 in Six Minutes video will document a good year for us. Renee should be finishing school and getting into more interesting work at her new job. I’ll continue doing work I enjoy in my current job. We have plans to visit Glacier National Park this summer with friends. We will keep making progress with the formerly-feral kitten Canyon — maybe she’ll even be willing to get in a lap someday! The dogs and cats (and us!) will (hopefully) stay healthy.
But when I started this project back in 2014, I had no idea I would be documenting a move to a new house in a new state with a completely different sort of job. When I started recording last January first (the shot of Canyon checking out the bedroom dresser), I didn’t know we’d be saying good bye to both Xena and Cricket by the end of the year.
Which is just another way of acknowledging that no one knows what the future — and specifically 2017 — will look like.
Last year, I wrote a coupleposts summarizing 2013, with all of its good and bad. This year, I have a video summary instead. The video is a collection of one-second clips – one per day – all mashed together.
I’ve already shared this video on Facebook, but I sort of wanted to get back to blogging again…and this video seemed like a good way to get started.
Some things I’ve learned from doing this project, and more about how I put it together below.
The Year
I didn’t get started recording my video clips until Jan. 8, 2014, so I missed the first week or so of the year. When I started, I knew I would be seeing some significant life changes, but I didn’t know the extent. Renee was busy recovering from brain surgery (you can see that she is a bit spaced out in the January video clips). I knew I only had six months left at my job and would need to find something new. But I had no idea that “finding a new job” would morph into a cool job at a huge tech company, selling two houses, and moving 9 hours away from Missoula. Or making Darwin be an urban dog for two months!
The interesting thing to me is the way the video sums up all the events of the year, and seems to portray the events in chunks:
Renee’s brain surgery recovery.
Lots of snow.
Working on my parents’ new house in Lolo (lots of painting, supervising the new carpet, snowblowing, etc.).
Lots of dog walks along the river in Missoula and a little camping.
Preparing for the move.
Me moving to Seattle with just Darwin and Xena for 2 months and living in a temporary city apartment. Darwin did great as a “city dog” during that time.
Renee finally coming out to Seattle and us moving into our new house.
One thing that the video doesn’t show very well was our legal marriage in Spokane back in July. I have a couple shots from the trip to Spokane, but it isn’t very obvious why were were there. In retrospect, I should have grabbed a video of the courthouse or something. One irony I’ve noticed with this project – sometimes the days in which the most cool stuff happens are the days I’m most likely to forget to record a video clip.
Recording and Selecting One-Second Clips
I made the video using an app called 1 Second Everyday. It is very easy to use. Just open it up and tap the “Timelines” button and it displays a calendar. Days for which there are videos on the phone are highlighted in yellow. Tap a day, and you can review all the videos that were recorded on that day and select the 1-second clip for the day.
You can tap a button in the app to launch the video camera on the phone, but you don’t have to. I recorded most of my video normally (outside the app) and then opened the app to pick my seconds later.
On days when you forget to record video, there is an option to select a photo instead – so there are a few spots in my video with still photos. However, there is an annoying limitation with this – you can only use a photo if no video exists on that day. There were a few times when I had both video and photos for a day, and I liked a particular photo better. The only way to use that photo in that case is to delete the video from the phone first. This seems silly to me; I should be able to choose whatever best represents the day myself.
When selecting the second to use, you can fairly easily scrub through the video to choose the second to use.
Once you choose the video clip for a day, it is stored within the 1SE app, so you can delete the original video file from the phone. I was a little bit paranoid of losing data, so I always backed up all my video clips to my computer before clearing them off the phone. The downside of this paranoia was that my phone’s free space became extremely low during times when I was lazy and didn’t do these backups regularly. The other downside is that now my computer hard drive is full of short video clips, most of which are fairly meaningless on their own.
Also, of course, as the year went on, the 1SE app itself consumed more and more space. A single one-second video clip is pretty small…getting close to 365 of them adds up after a while. At the moment, I still have all the 2014 1-second clips on my phone, but I may have to clear them out eventually and only keep one year at a time.
Making the Final Movie
The 1SE app did most, but not all of the work in making this movie. At any point, you can choose to “compile” your 1-second clips into a video. The app “mashes” all the clips together into a continuous video. Note that you don’t have to do a whole year at once – you can choose a custom time interval. (As an aside, I just now discovered that a recent app update lets you create a video in reverse – starting with the most recent date and going backwards. I wonder how that would change the feel of the movie?)
The resulting movie is pretty cool even on its own, but I wanted to add music to mine. So I had to go through a bit of a rigamarole to transfer the mashed video to my computer, load it up in iMovie, then select and add the music tracks. This proved a bit more difficult than it should have been. For some reason, the video as created by 1SE would only play within the 1SE app or within the “Photos” app on my iPhone; it would not play correctly when I transferred it to iMovie on my Mac.
It must have been a formatting glitch of some sort, because I solved it after much cursing and experimenting by opening the file up in Quicktime Player [CHECK NAME OF APP], then exporting it to a new file as a 720p movie. The exported version worked fine. I have no idea why I had to do this.
This particular year it made sense to split the video across two songs – the first half (Montana) and the second (Seattle/Kirkland). I’m fairly pleased with the songs I found for this – “Ends of the Earth” by Lord Huron, and “West Coast” by Coconut Records. Both of these songs happen to be ones I discovered shortly after moving to Seattle, while still living in the temporary apartment.
The end result turned out better than I expected. I’ve already started recording my 1-second clips for 2015. I don’t expect the changes in the 2015 version to be quite so dramatic, but I’m curious to see how it turns out!
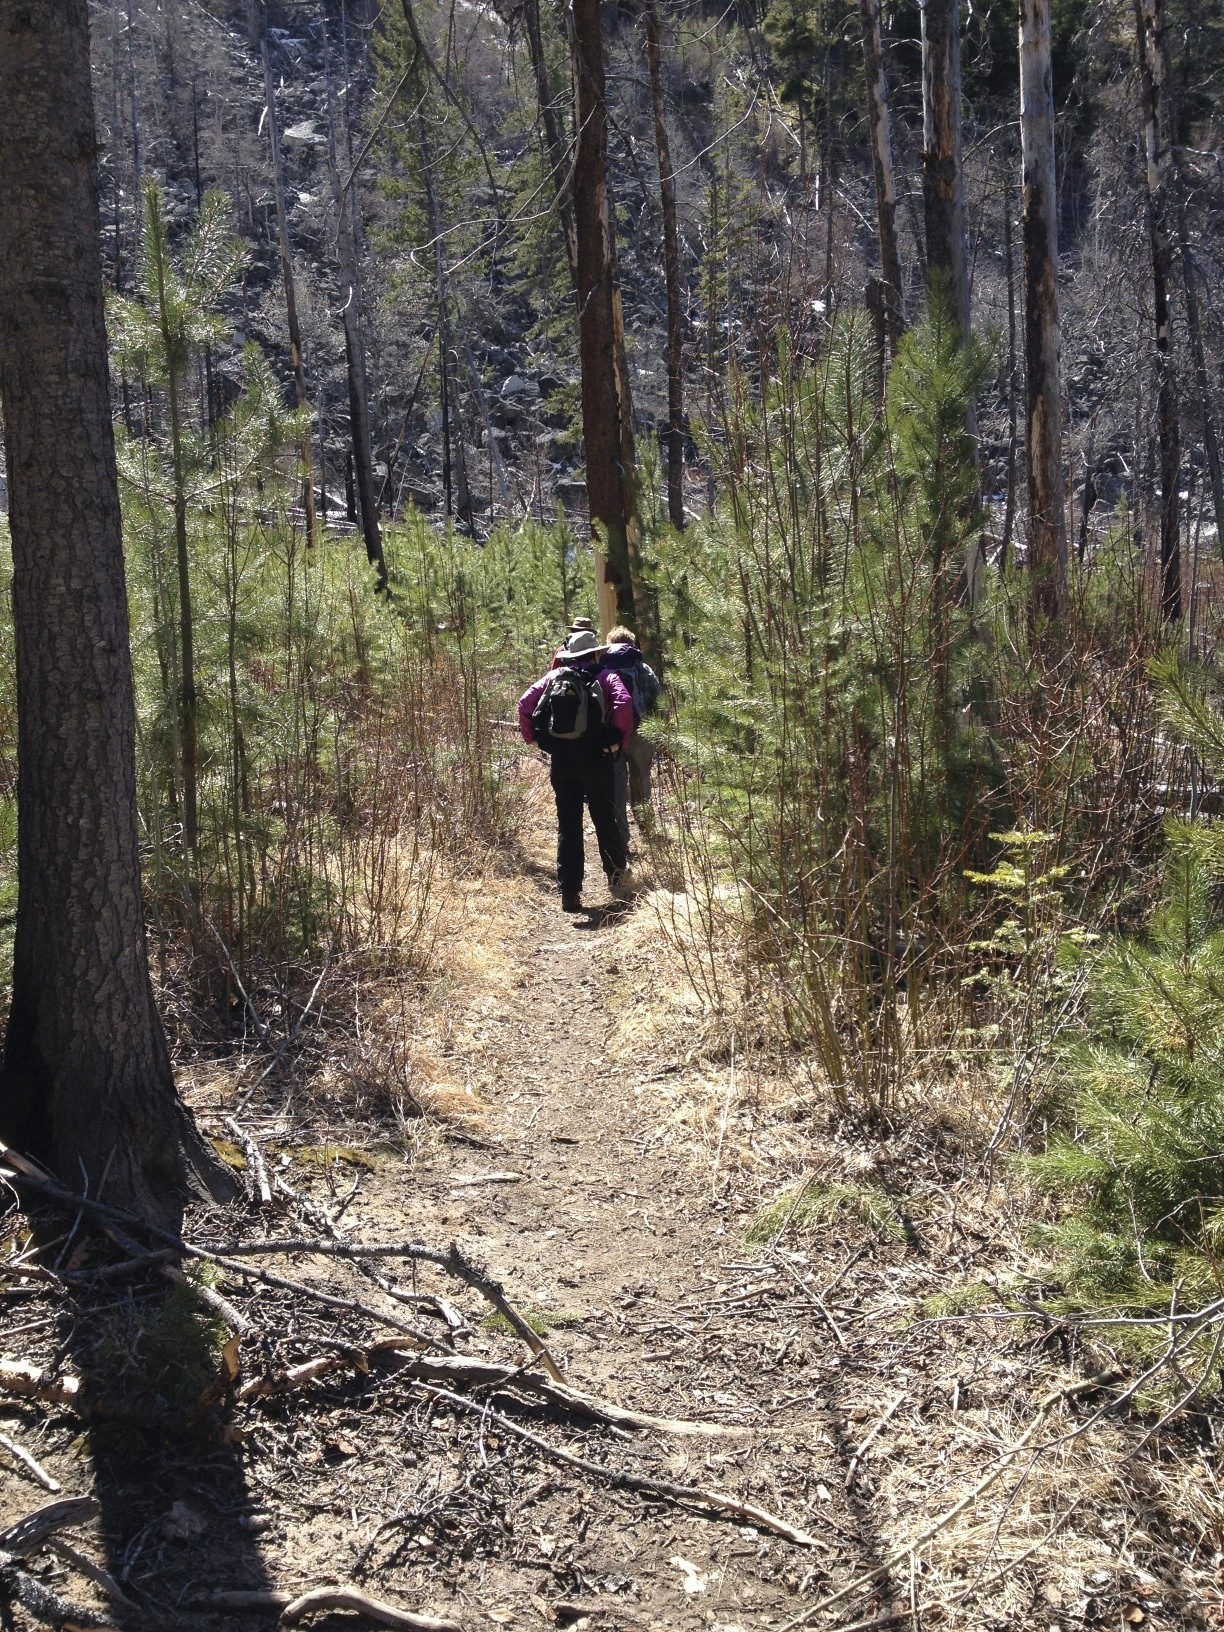
Saturday was a beautiful spring day. It was also the first weekend since I got the “all clear” from my foot surgeon. My foot is still not fully back to normal, but I did get the okay to start hiking and going on longer walks.
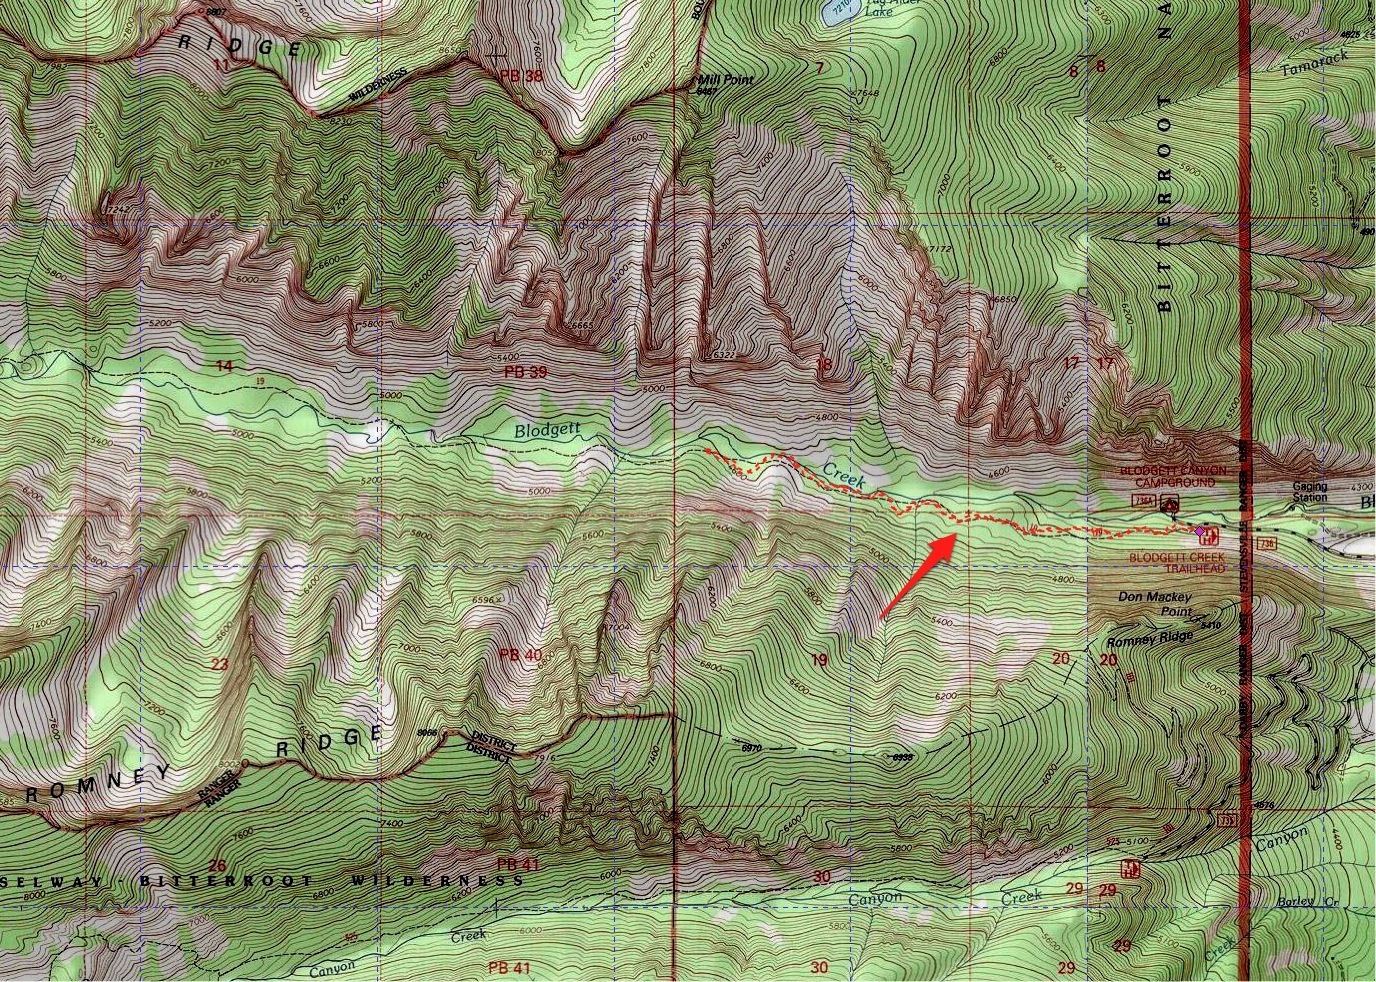
So we went on a hike in Blodgett Canyon with Toony and DeAndria. We left the dogs at home for this one because we were concerned about traps and we didn’t want to deal with five leashes. We’ll probably bring them next time, but it was nice to hike without having to worry about the dogs.
The hike ended up being a little over 4.5 miles, so it was definitely the longest since my surgery.
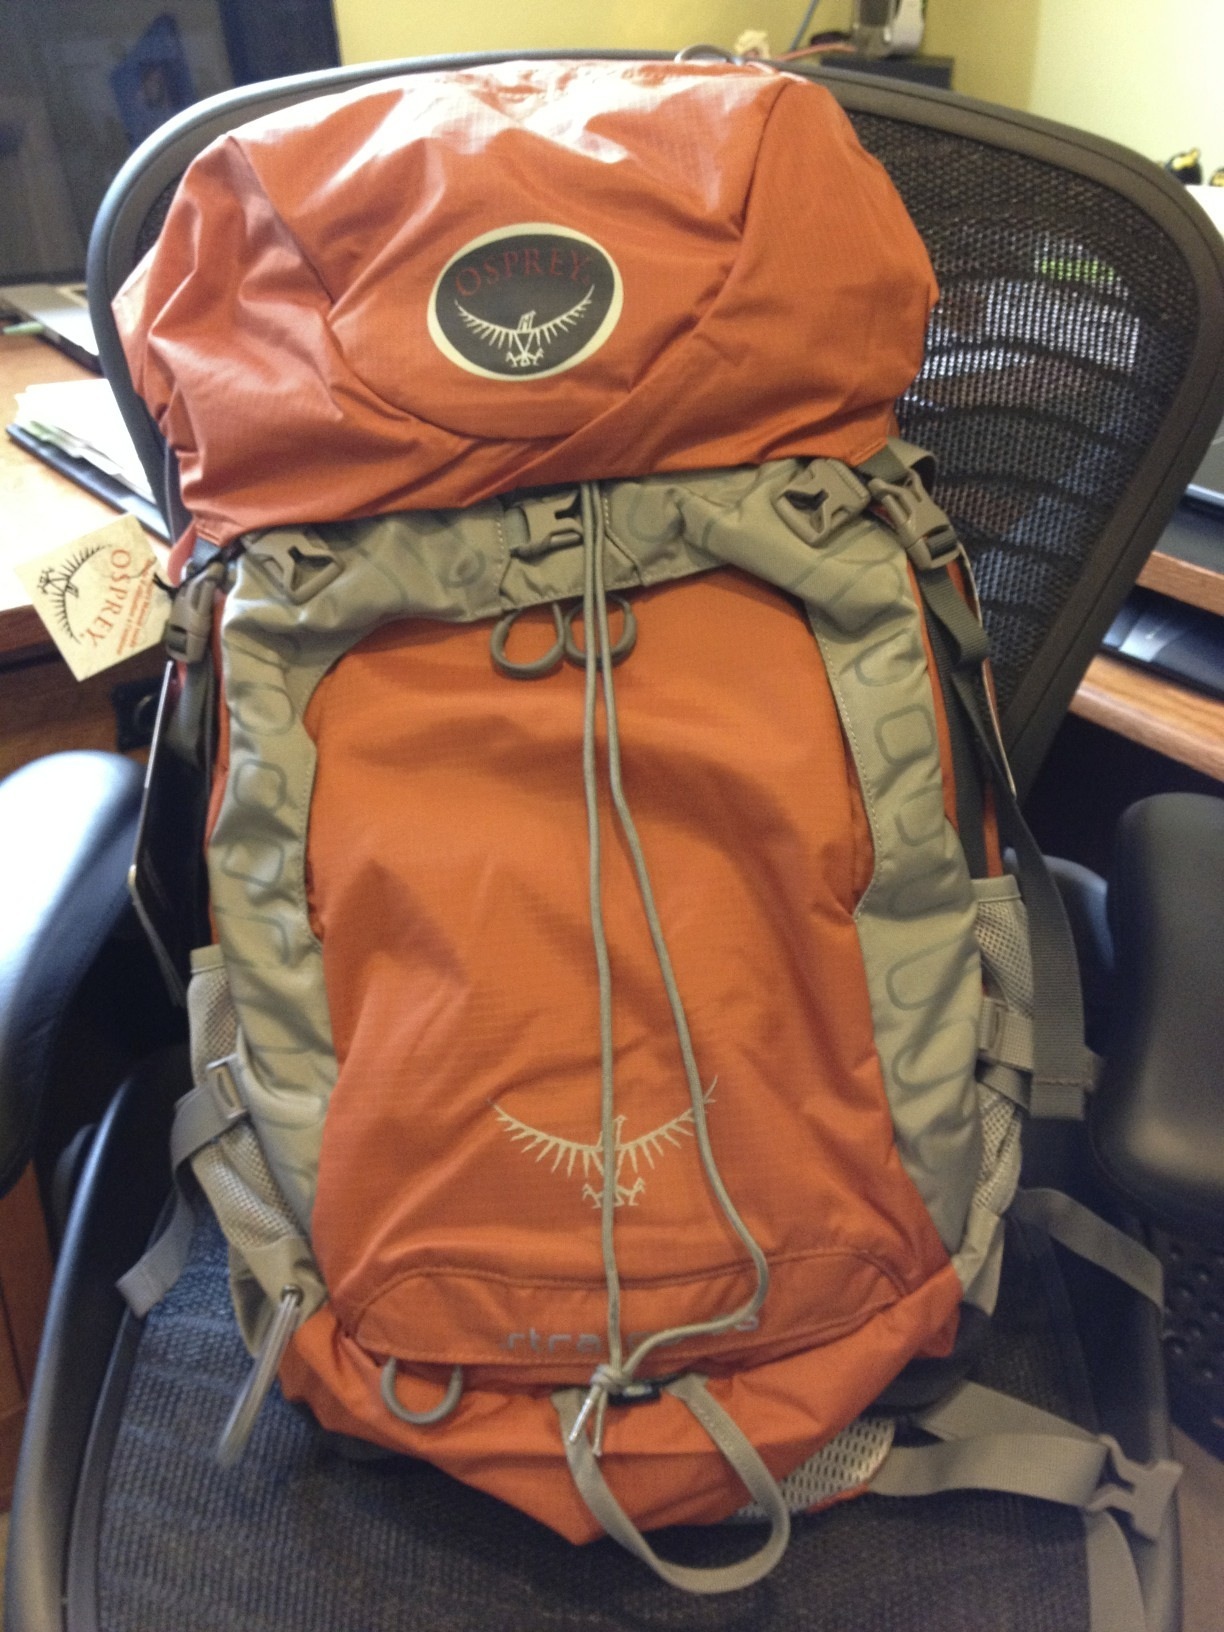
My new backpack the day it arrived in the mail
It was also a good opportunity to test-drive my new, lightweight hiking boots and my new pack. So far the new gear is working out. The pack felt great. The boots felt pretty good too.
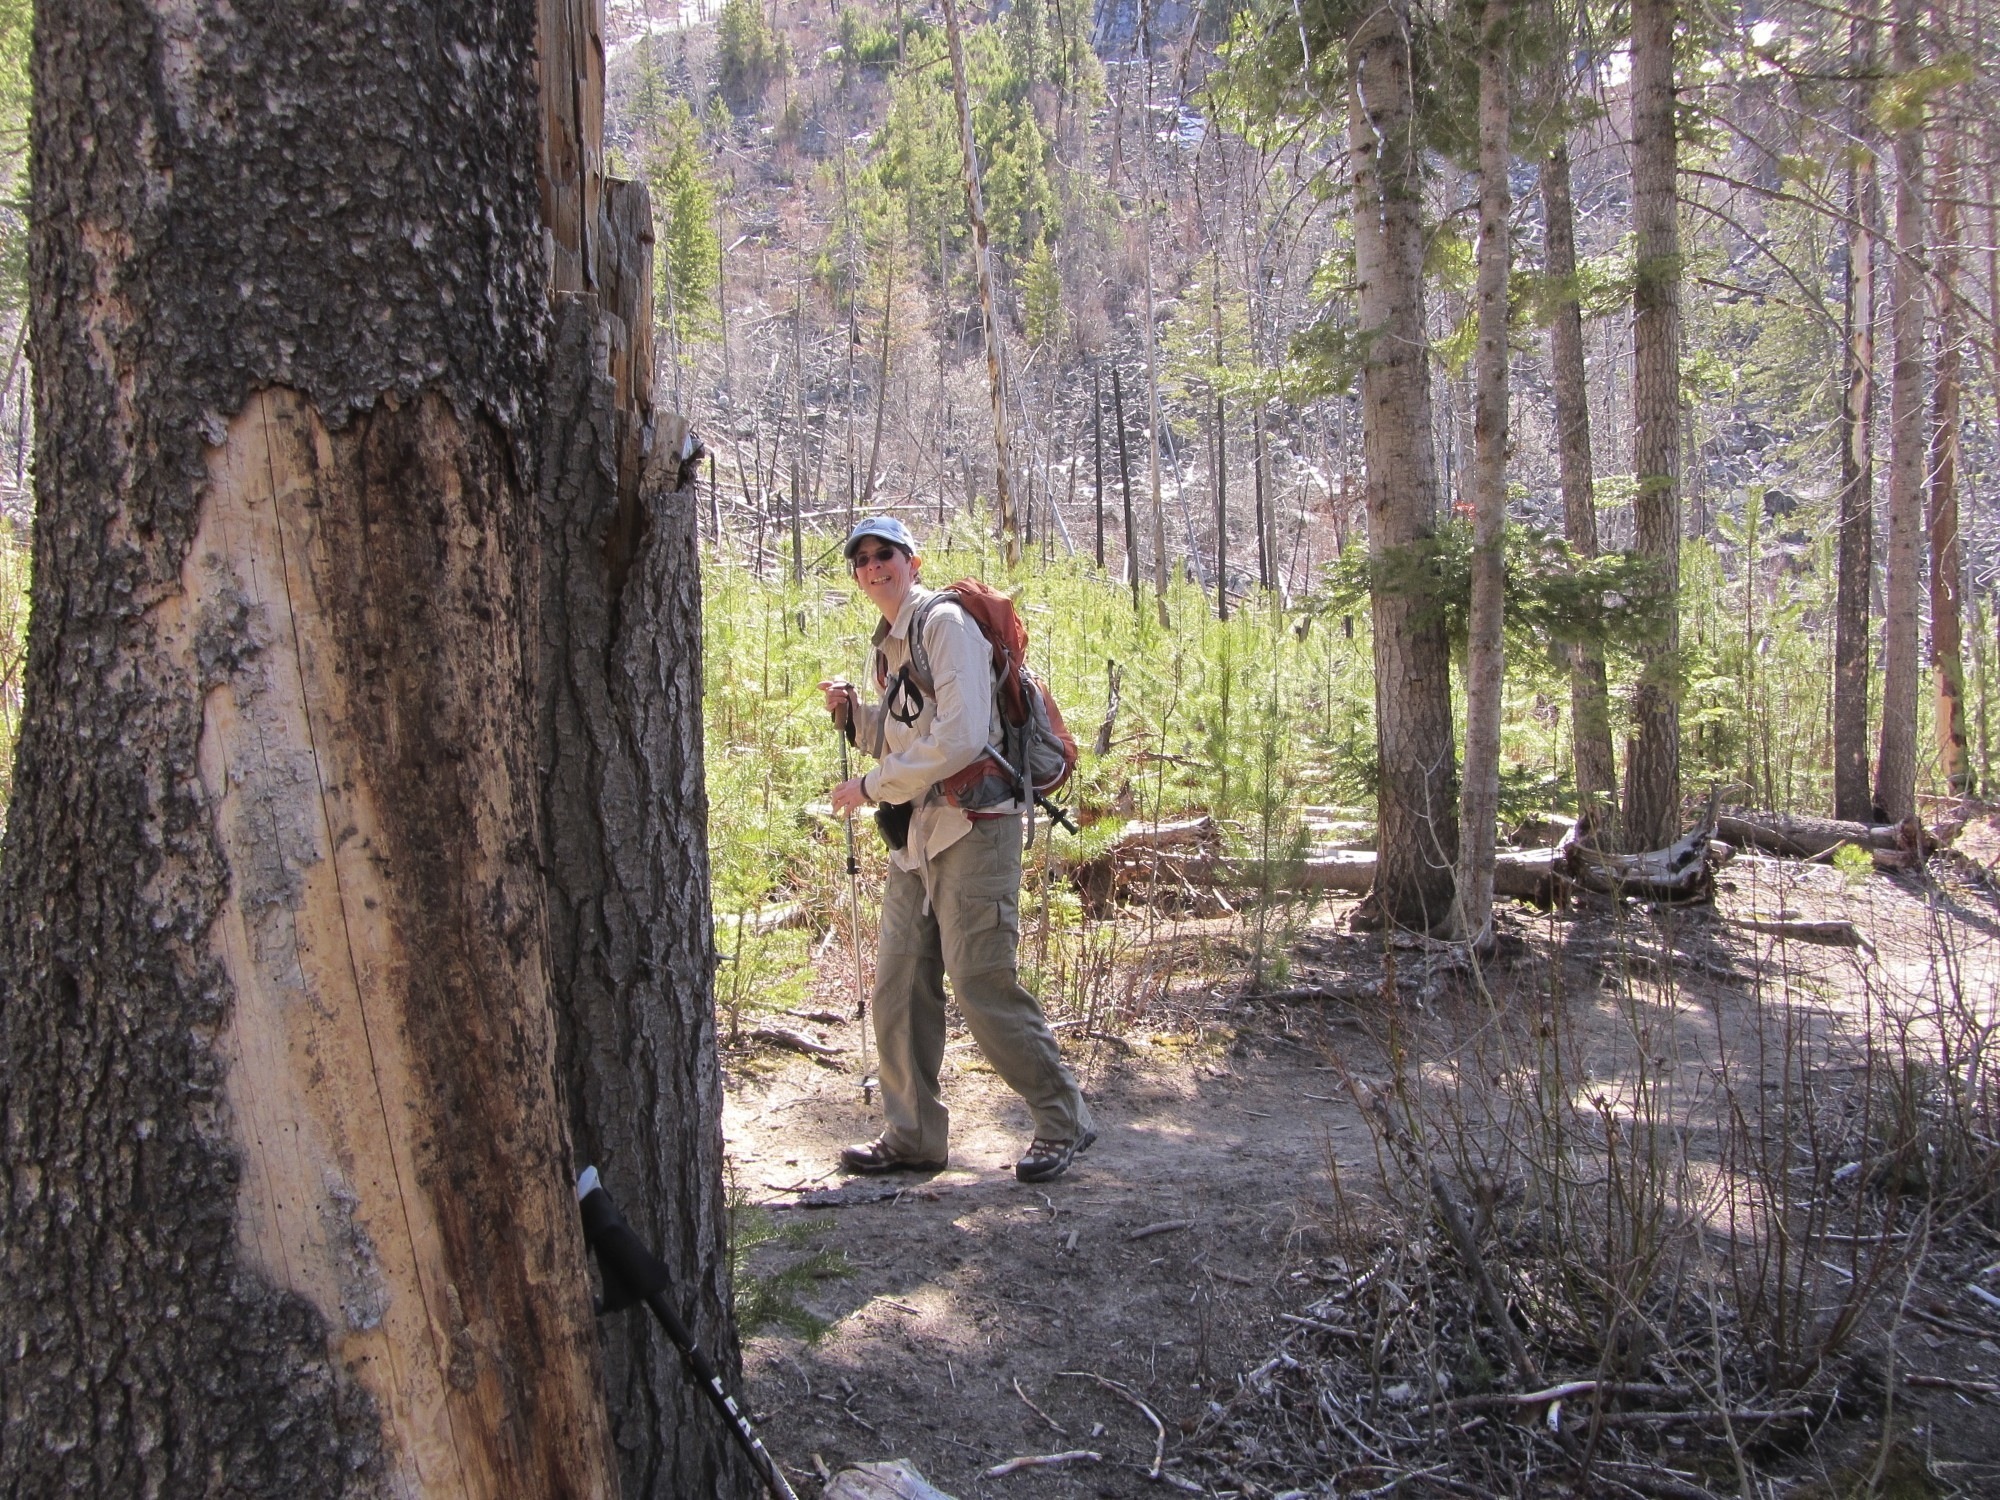
It felt great to be out on a hike again. The last significant outdoor thing I’ve done was when we went cross-country skiing the last weekend before my surgery, back in early January. I’ve been going on short walks for a while now (probably longer than I was supposed to) but there is a huge difference between just walking around town and hiking on a trail.
Wow, my foot actually can bend now!
Blodgett Canyon is not a difficult trail. It has a little uphill at the start, then just follows right along the creek. There were a few fallen trees to climb over and a few rocky patches, but for the most part it was a great choice to get back to hiking.
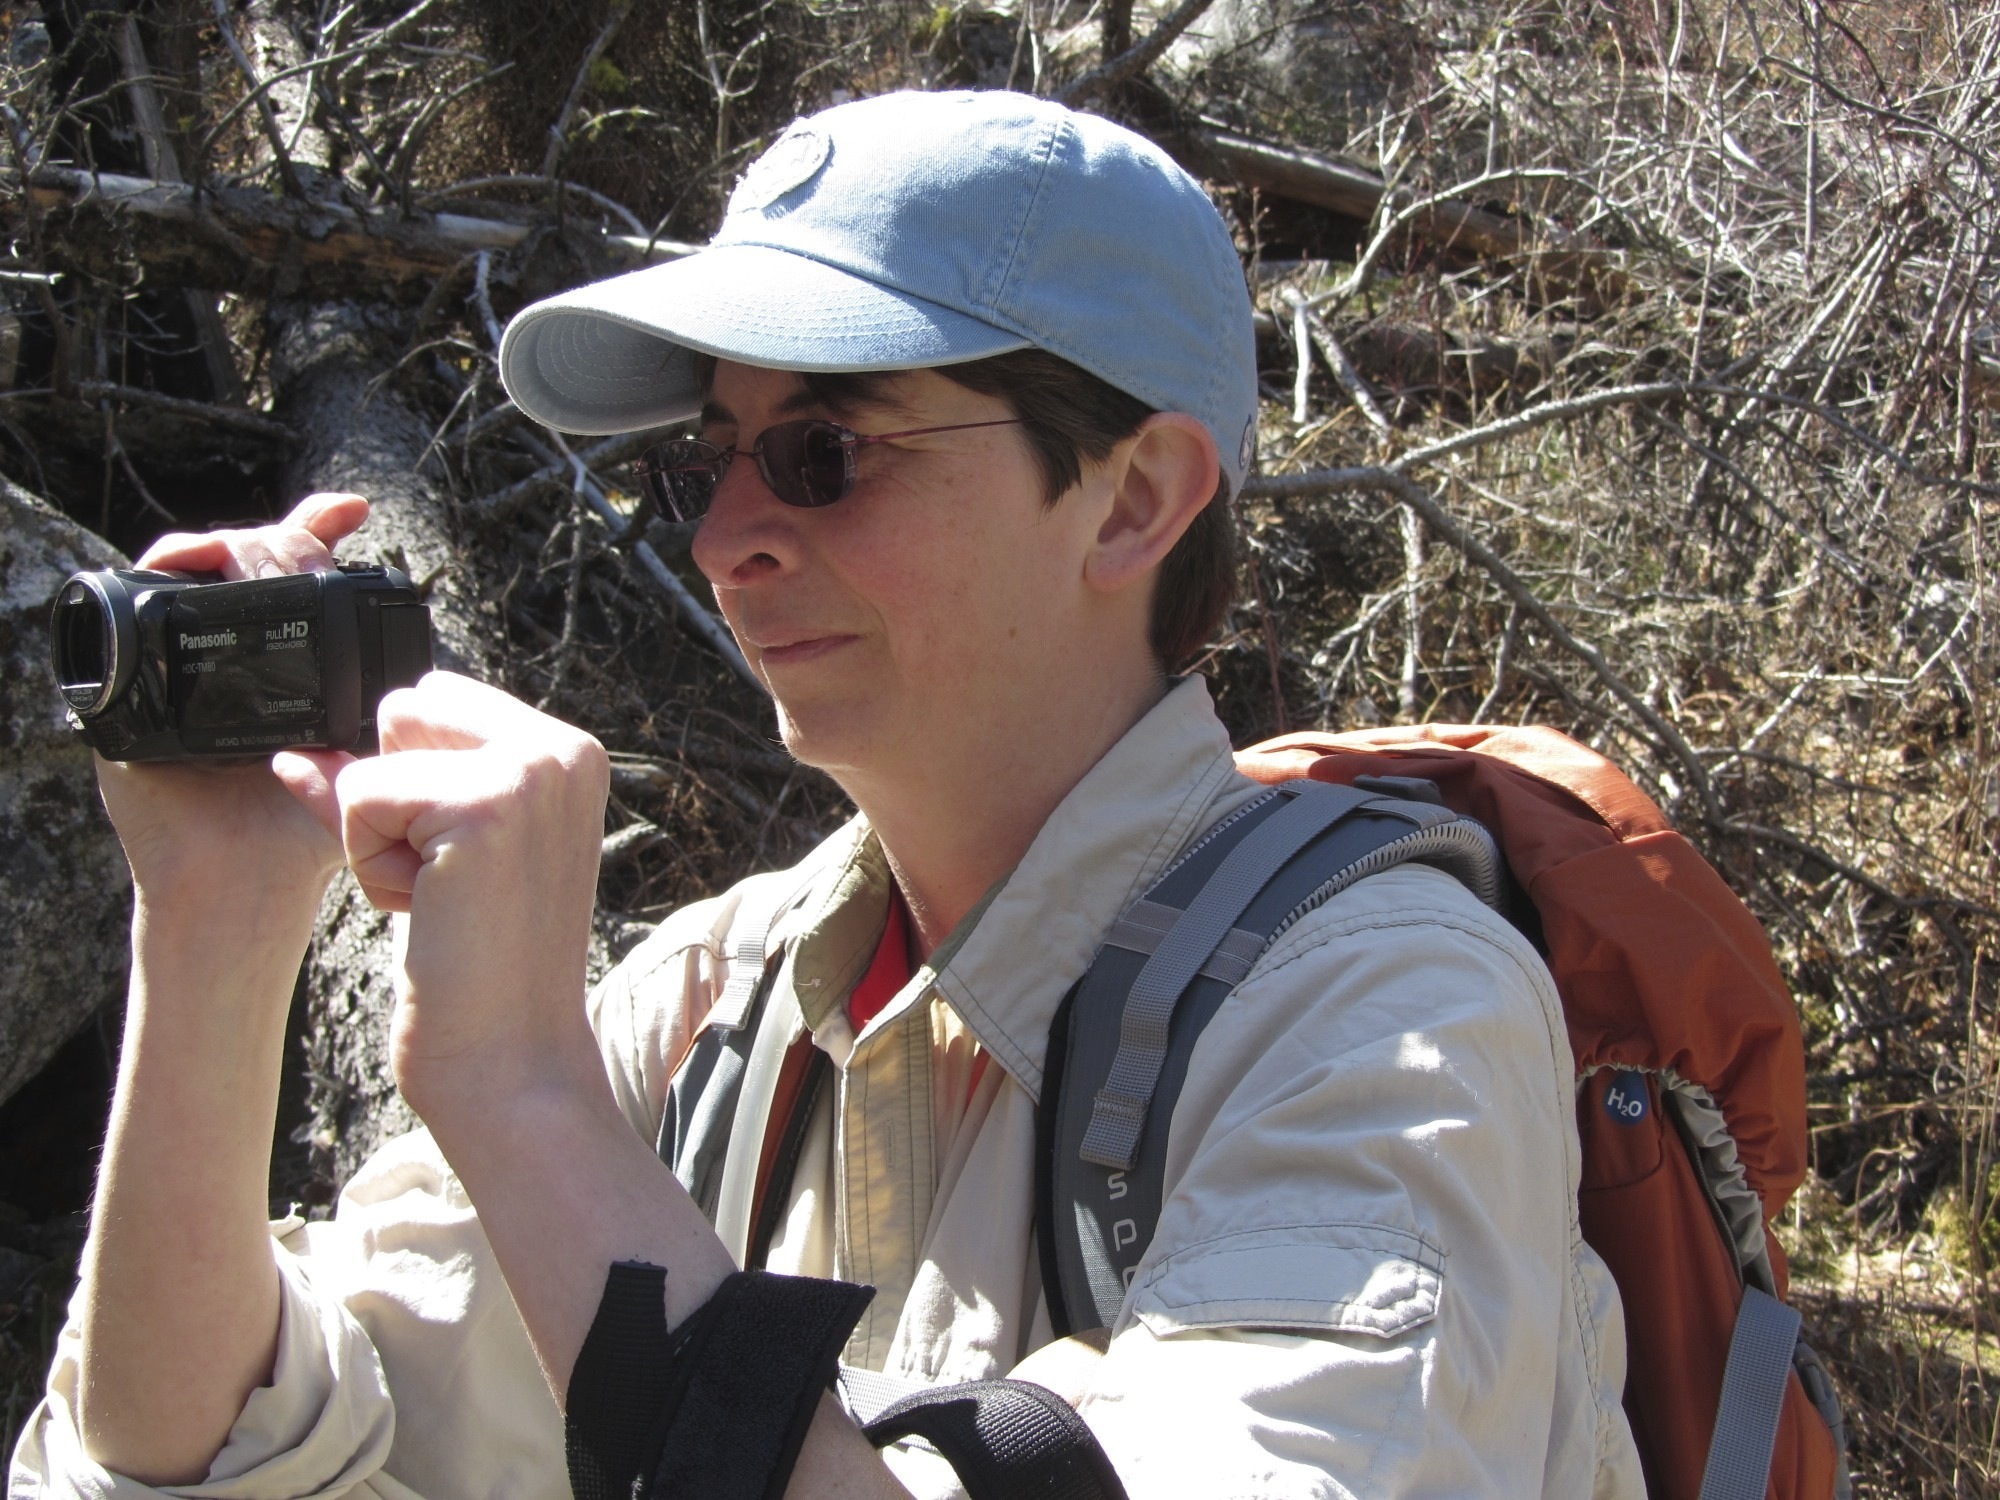
Renee caught me recording a little video
I love the cliffs up against the blue sky!
I didn’t take a lot of video or pictures during this hike…it was nice to just be out in the woods and relax. But here is a very short video with some of the highlights. I especially liked getting some shots of the rushing creek and a cool waterfall on the cliffs across the creek from the trail.
It was a great day out in the woods. My feet were sore when we made it back to the car, but it felt more like general soreness from being out of shape, not pain from the surgery.
After this hike, I am relatively optimistic that I will be able to hike during our Utah trip in a few weeks.
Last year when we went on our trip to Utah, I had a brand-new video camera. A little Panasonic thing that could record onto SD cards like a digital camera. In some ways I found it was more fun than my Nikon still camera, especially in the canyons where I could sweep up to see the towering canyon walls far more dramatically than with a single still shot.
At first, no one wanted me to videotape them, but as we got into some of the more interesting hikes, climbing up and down rocks in the slot canyons, everyone seemed to enjoy the idea that this whole great adventure was being recorded.
The problem with taking videos on vacation is that it is even more time-consuming than just reviewing pictures when you get home. The raw video itself is fun to watch but to make it something really enjoyable, you really need to spend some time editing it…picking the good parts and cutting out all the little errors and goofy parts, adding titles and transitions, and so on.
So once we got home, I started working on pulling all those clips into something worth watching. With the help of iMovie, I quickly created a cool "trailer" that my friends loved. This also created very high expectations for the rest of the movie.
Summertime house projects and nice weather got in the way of completing very much. I finished a bit more in the fall, but then was busy over the holidays. Foot surgery forced me to be sedentary in the winter, so I started cranking away again, feeling a bit of panic that I would still be working on this when we left on this years trip in May!
Finally, about a month ago we scheduled a movie night with our friends for tonight. The idea was to help us get in the mood for planning this years trip. This had the added benefit of giving me a deadline up finish this project.
So for the last few weeks, I’ve spent most evenings with earbuds stuffed in my ears, reviewing video clips and editing my movies. By last night, it was nearly done. This morning I got up a bit early and did some last-minute fixes to the credits on the final movie before work. I kicked off the DVD burn process while working so that I could keep an eye on it (it took about 2 hours to burn the DVD…although see below for info on issues with this).
In a way, I felt almost as much deadline pressure as I do when I have a tight deadline at my real job.
Some things I learned in this project:
Don’t overuse the zoom button. Many times as I reviewed my video, I found the perfect shot sweeping along a beautiful landscape, but then the camera zoomed in on some feature and disrupted the mood. It would have been better to just take in the shot, then zoom and do another sweep separately.
When building a movie from the clips, watch all the related clips first so that you know exactly what you have to work with. This also helps you identify any good themes you might want to highlight. For example, our first hike with real climbing was in Crack Canyon. After watching all the clips (about 40 minutes or so) I decided that the theme of that hike was us learning to climb and working together. So I picked music appropriate to that theme.
Related to the above point, when reviewing video clips for a project, take notes as you go. I didn’t start doing this till I got to my last few videos. For the clips I liked, I would jot down the time stamp and a brief description. When building my video later, I kept these notes handy so that I could quickly find each clip I wanted to use.
For my project, I did a separate movie for each hike. I then did an additional movie to highlight other memorable moments during the trip, particularly those that didn’t fit into the hike videos. It seems pretty obvious but I didn’t think to note down some of these moments when reviewing the clips the first time, so I had to re-watch quite a bit when making this last movie.
Background music is magic. Adding music can somehow tie a whole heap of separate clips into a single unified thread. As long as you pick the right song of course.
Background music can even work when you’re using the original audio from the clips, although you should use instrumental pieces for this and lower the volume so it doesn’t overpower the clip audio.
Make sure the date and time on the camera is set correctly so that you can be confident the times shown in your movies are correct. This wasn’t a problem with my video camera, but it was a bit of an issue with our still cameras since I did use some still pictures in the movies as well.
Even imperfect video can be used in your movie. Sometimes you can do tricks like using cutaways to use audio from one clip while showing a different clip to hide imperfections. Also, slow-motion and freeze frames can be handy when you only have a couple good seconds of a particular segment.
Slow motion was especially handy for some of my shots of birds and other wildlife. For example, I got a nice shot of lizard. Later, when watching it in slow motion, I realized he stuck out his tongue! Very cool and something I completely missed while filming.
Some shots that seem silly, like roasting hotdogs over a crackling fire, can make for nice ambience later.
For a particular movie or section, come up with a consistent method for transitions. For example, in our climbing movies, I used crossfade transitions between clips about different obstacles. But when showing each person conquering the obstacle, I just cut from clip to clip with no fading between them. This made each obstacle feel like a self-contained unit.
When using music, there is no need to use the entire song. If you need to cut off the song before it’s done, just fade it out. Even if it’s in the middle, this often makes it sound like it is really at the end.
When setting up scrolling credits to show at the end of the movie, be sure to allow enough time so that it that the text scrolls by at a readable pace.
Know the limits of your software. I discovered a little too late that iDVD, the software used to create the DVD, had a limit of 15 minutes of animated menus. At the last second, I had to change my menus so that I could burn the DVD. I should have planned my menus a little differently to make better use of those minutes. Or researched other alternative software.
Test things like DVD burning ahead of time. Multiple times. The wasted media is worth the piece of mind when you come up on your deadline. I did do this to a point…I burned a couple test DVDs early in the month. But I didn’t test with the dual-layer DVDs out of concern for the expense. Well, I’ve now wasted three of those expensive discs and have been unable to get one to work in our DVD player. I finally split the movie into 2 discs, but if I had done more testing ahead of time, maybe I could have had time to troubleshoot the issue and get it working.
When I am recording video with audio, I should never, ever attempt to sing (this advice might not apply to everyone!)
Some of this advice is probably pretty obvious, but these were all things I learned along the way. I am hoping that with these tips next year it won’t take me quite so long to put together the video from our Utah trip.
(Please forgive any odd typos here. I wrote this post on my iPhone because my laptop is still busy burning the DVD!)